Showing posts with label Holiday. Show all posts

March 22, 2011

Rainbow Cake

Remember this, last year's attempt at a rainbow cake for St. Patrick's Day? What can I say, I'm a glutton for punishment--I had to try a rainbow cake again this year.  I know what you're thinking... But it worked!  I went smaller, lots smaller this year.  Let me show you.


I only used one box of white cake mix.  I just divided it into six bowls, used food coloring to create six different colors, then poured them carefully into the bundt cake pan.  I started with the red, then poured the orange on top of that, then the yellow on top of that, etc.  I wasn't sure if I'd end up with a big brown mess, but as you can see, it worked wonderfully!  So simple, so fun.

March 8, 2011

St. Patty's Day Centerpiece Tutorial (Kid-Friendly!)

This is one of the cheapest and easiest projects I've ever done.  I am a leader for my daughter's Frontier Girls troop--We have six girls ages 4-6.  I did this project with all the girls on Monday afternoon and it went fabulously.  I was a little worried about Mod Podging with six wee ones, but they did a fantastic job, which emphasized to me how simple this project really is.

Want to know the best part?  Each centerpiece costs under $2!  All of the supplies (except for the Mod Podge) were purchased at our local Dollar Tree.

SUPPLIES
-Small square candle holder
-Scented tea candle
-Green decorative glass
-St. Patrick's Day Napkins
-Mod Podge  (Not pictured)
-Foam brushes (Not pictured, but available at the Dollar Store)
-Scissors (Not pictured)

Unfold a napkin.  Use your scissors to cut out two of the green squares with clovers inside.
Mod Podge a clover square to two opposite sides of the candle holder.
Fill the candle holder with the green class about 2/3 full.  Place the tea candle into the center of the candle holder.  (You can kind of twist it down into the green glass a little bit.)

Enjoy!

I'm currently working on a Home/Life Organization Binder.  It's nearing completion, so I hope to have photos up soon.
Also coming soon... A Spring Wreath! 

January 14, 2011

Valentine's Day Tic Tac Toe

I have to say that I'm really quite pleased with how this turned out.  It was inspired by my daughter's love for Tic Tac Toe.  Actually, it was mostly her idea.  I just took care of the details.  This is a fantastic craft for kids, as my daughter (5 years old) was able to share in the work and do a lot by herself.
This was so easy to make.  I simply cut a heart template out of construction paper, then used it to cut 10 red hearts and 10 white hearts.  (Even though there are only 9 hearts on the board at a time, you want to be sure that each color has enough to win!)  I put two hearts together, used a hot glue gun to glue almost all the way around the inside edge, filled the hearts (through the unglued opening) with pinto beans (my daughter did all of the filling), then used the glue gun to seal the hearts.  Voila!

Next I cut a big heart out of pink fleece.  I chose fleece because it doesn't fray and I wanted to create a no-sew project.  Before you cut the heart, lay your bean bag hearts on top of the fabric to ensure that your game board heart will be big enough.  I cut four pieces of ribbon, pinned them to the heart in the shape of a Tic Tac Toe grid, then used the hot glue gun to glue them in place.  That's it!

The best part?  The game board ties up around the bean bags, creating its own storage space.  What more could you ask for?

July 4, 2010

Fourth of July Table Runner ($4)

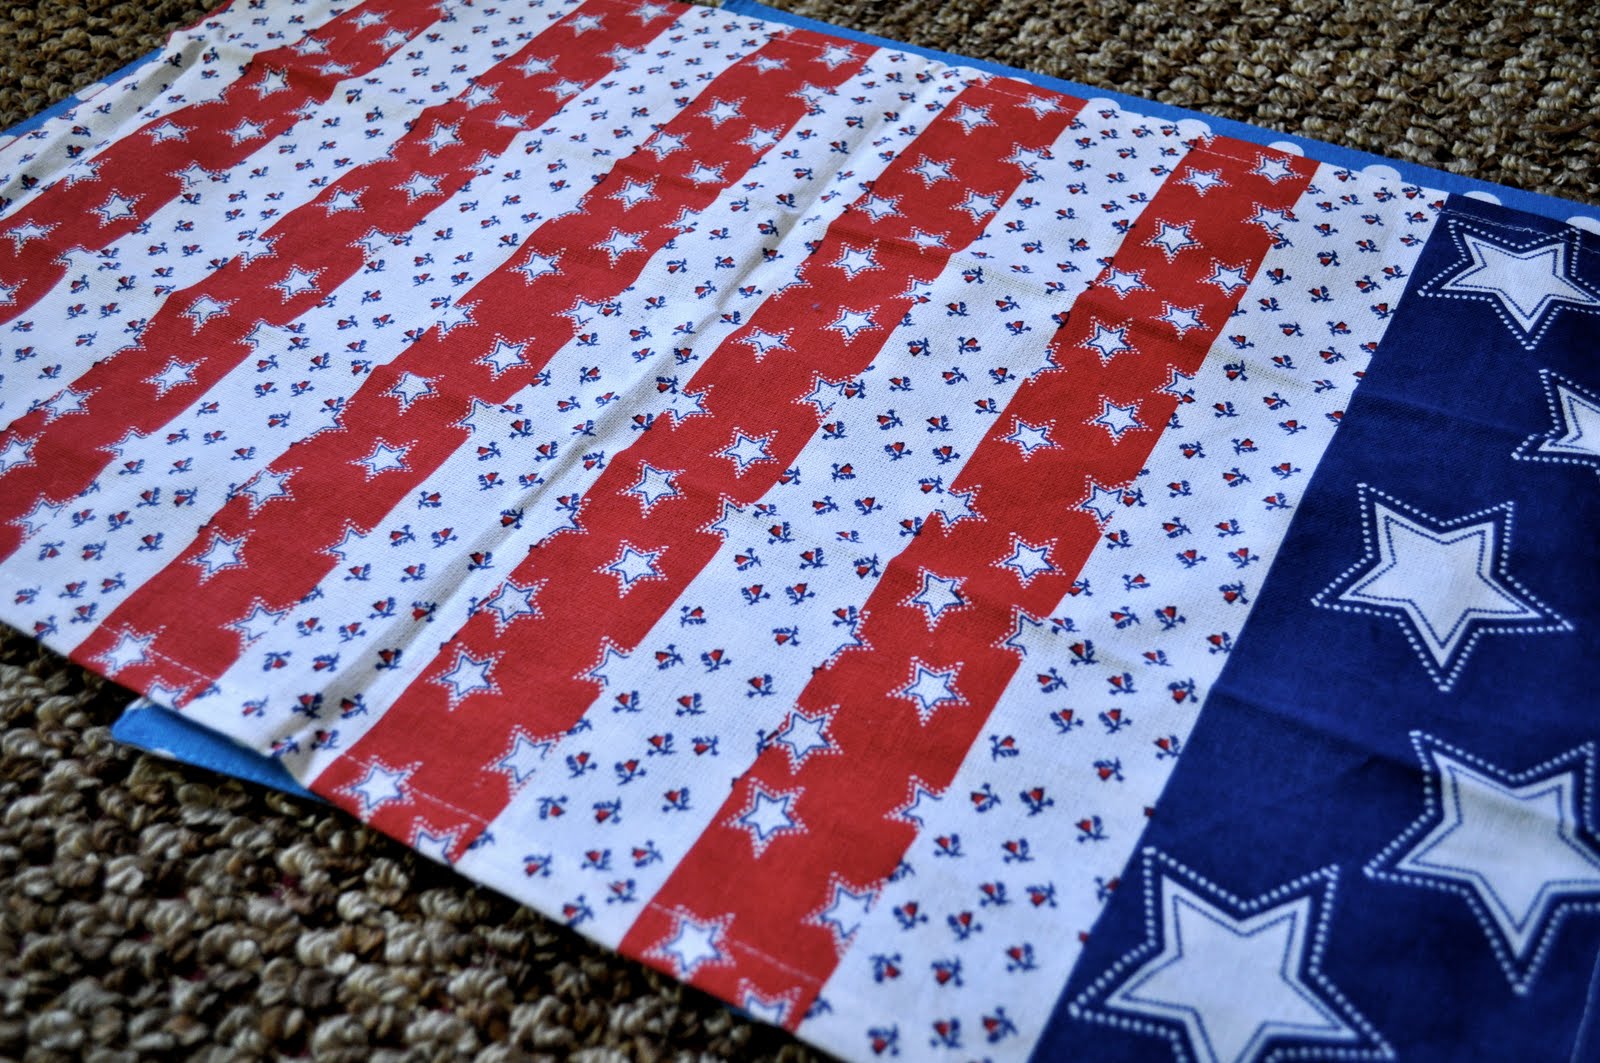
I picked up the supplies for this table runner during my recent trip to the Dollar Tree.  I used three place mats and one dish towel.  I cut the dish towel into strips that I then used to connect the place mats.  This is an incredibly simple project (and only costs $4!)!
Before

After

We used this table runner at our BBQ tonight, as well.  It held up great and added some festive, Patriotic cheer to our table.  Not bad for four dollars!

Patriotic Serving Tray


I know that the 4th is almost done, but if I post it by midnight, I think it counts, right?  I have been eyeing big and fancy serving trays everywhere I go.  We have a screened porch right off our kitchen and dining room, so I dream of having something lovely on which to carry food to the porch for our picnic dinners.  I'm stingy, though, and am not willing to pay $10 an arm and a leg.  Lucky for me, while wondering the aisles of Target (you know you do it too) the other day, I found a $20 extra-large serving tray that was clearanced down to $4.98!  It was a bit scratched up and one of the handles was loose, but it was nothing a little Gorilla Glue couldn't fix!  Perfect!  I headed to our local Dollar Tree to check out their Patriotic Decor, and fell in love with two gift bags.  I cut them to pieces, patchworked them onto the tray, then Mod Podged the heck out of them.  What do you think?

Before
After

We used the tray tonight for a big BBQ that we hosted and it was just right!  Hurray!

March 30, 2010

More Chocolate Buttercream (w/Glitter!)

March 19th was my husband's half birthday.  He is now thirty-one and a half.  (Crikey!)  Anyways, on March 19th, he was taking his Boards.  Doctors have to take these ridiculous two day exams, some time between Intern and third year of Residency.  So he took his on his half birthday.  Yuck.  Being the wonderful, always-on-top-of-things wife that I am, I, um, forgot his half birthday.  Half birthdays are a big deal around here, as it's an opportunity to celebrate, and we love to celebrate.  But I forgot.  Until yesterday.  Crap.  So we celebrated yesterday.  It was fine and fun, and everybody had a great time.  I made chocolate cupcakes with chocolate buttercream frosting.  We are loving the chocolate buttercream these days.  I had my daughter decorate the cupcakes with her very own glittery icing.  Needless to say, they looked and tasted wonderful.  Happy (late) half birthday, Honey!


March 27, 2010

Newfangled Candlesticks

Isn't using old stuff to make something new wonderful?  I've been having such a fantastic time with all of my Goodwill finds!  For this project, I actually had everything already in my home.  Even better!  The glass candlesticks that I used were picked up off the side of the road, post-garage sale, a few years ago.  The mini-vases were my grandma's.  

I wanted the candlesticks pinkish white, but didn't have any primer.  What to do?  Call me the queen of laziness, but I used Mod Podge!  I actually mixed some Mod Podge with red paint to create a pink color. I then painted the candlesticks with the Mod Podge mixture and waited for it to dry.  This created a very streaky pink with a lot of glass shining through, but it was textured enough that I could spray it with my handy white spray paint.  Then I had some pretty sweet light pink candlesticks.

Next, I glued the glass mini-vases to the tops of the candlesticks.  I would suggest Epoxy glue for this, as I don't think that a hot glue gun would be strong enough.  Let the glue dry and you're done!  I filled mine with chocolate Easter eggs, then topped them with Easter egg suckers from The Dollar Tree.  What I like about them, though, is that I'll be able to coordinate different fillings with each season or holiday.  Cheapest project ever!  What do you think?


March 17, 2010

Happy St. Patrick's Day

What does St. Patrick's Day mean to me?  Well, I'm not Catholic.  And I don't drink.  That about does it. No wait, I'm like twenty-five percent Irish.  Sweet, I can celebrate.

Last night, in preparation for today's festivities, I had the grand idea to bake a rainbow cake.  Yes, I'm talking about a six layer cake.  Genius, right?  Let me tell you, it was AMAZING.  About a foot tall.  Four containers of icing and an entire bottle of red food coloring (red, orange and purple all use red!).  Awesome.  Check it out for yourself:


And then this happened.  Suck.


That about did me in.  Do you have any idea how much time I spent on that thing?  Time I'll never get back.  Oh well.  My kids still thought it was cool.  It's the taste that counts anyways, right?

On to today.  Breakfast was green mini shamrock pancakes, made using a heart shaped cookie cutter.

Green applesauce.  I had to post the close-up for the nastiness factor.

I sewed this cute little leprechaun shirt for my son last night.  He loved it and wore it to school today.


Dinner was green spaghetti (I cooked the noodles in water with food coloring) with Pesto Alfredo sauce.


Cucumber Salad

Asparagus


Green Shamrock Rice Crispy Treat


And finally, mint Oreos dipped in green chocolate (white chocolate dyed green).


My six year old can't wait to see if his pee turns green.  After all the food coloring we ate, I wouldn't be surprised.  Happy St. Patrick's Day!

March 6, 2010

Oh No. I Discovered Chocolate Buttercream.


My daughter turned four and a half yesterday.  What a wonderful excuse for cupcakes.  Chocolate cupcakes, made from scratch, with chocolate buttercream piped on top.  These were, honestly, the best cupcakes I've ever eaten.  I can say that because my daughter did most of the work making them.  This is the essence of homemade.

March 4, 2010

Flower Peep Wreath


My friend Cathy and I have started to have weekly play dates with our first graders and my four year old.  These are not ordinary play dates, though.  Heck no!  We are hosting weekly craft dates!  For our inaugural meeting, we decided to make Peep Wreaths, based on a craft by Martha Stewart.  Martha's craft, however, would have cost close to $40 per wreath.  That seems utterly ridiculous for a candy wreath!  So I made some adjustments and was able to cut the cost by about $10.  Still unbelievable, and not something I'd do again, but better than $40.  Here's what we did:

Supplies:
1 35" long Styrofoam Sheet
1 7" Styrofoam wreath form (for stencil)
1 7" Styrofoam circle (solid)
Floral Pins
4 Boxes of Peeps (60) for Flower Petals
2 Boxes of Peeps (20) for Flower Center
Glue Gun
1/2" Ribbon

1.) Instead of buying $4 styrofoam circles, I purchased one circle and a sheet of styrofoam.  Then I traced the circles onto the sheet and cut them out myself.  Actually my sweet husband did this for me, as I had back surgery a few weeks ago and am not quite fixed yet.  I think that we used 7" circles.


2.) Using floral pins (like super long staples), pin your circles/petals to the solid center.  I placed all of the petals in a circle, touching each other on both sides, then laid the solid circle on top and pinned it there.  That worked better than trying to balance the petals on top.


Turn the whole flower over and pin it again on the other side.

3.) Using a glue gun, cover the perimeter of each petal with ribbon.  I used too thin ribbon on one, so use 1/2" ribbon for complete coverage.


4.) Make a batch of Royal Icing.  There are tons of recipes for this, but I just combined 2 egg whites with 2 cups of Confectioners Sugar, and 1/2 teaspoon of lemon juice.  Blend until smooth.  Pour the icing into a ziplock bag and cut the tip off of one corner.  Just cut a tiny piece off or you'll end up pouring icing everywhere.

5.) Squeeze a ring of icing around each petal.


6.) Put the Peeps on the wreath!  Mine fit best with their heads facing in and tails out.  Use one color in the center and the other color on the petals.


DONE!!

I'm planning to use another floral pin to attach a loop of matching ribbon to the back of the flower center.  Then I'll hang it on a hook on the wall.  I am going to wait for the frosting to dry overnight before I hang it, though.  (Nothing like sliding icing-covered Peeps on the floor to make for a good time!)

This was a really great craft for the kids to do.  Simple, fun and tasty!

Follow Up: Hot glue the petals to the center of the flower.  Also use a glue gun to attach the floral pin and ribbon to the back of the center of the flower for hanging.  The wreath is heavy!


Related Posts with Thumbnails