Showing posts with label Craft. Show all posts

March 8, 2011

St. Patty's Day Centerpiece Tutorial (Kid-Friendly!)

This is one of the cheapest and easiest projects I've ever done.  I am a leader for my daughter's Frontier Girls troop--We have six girls ages 4-6.  I did this project with all the girls on Monday afternoon and it went fabulously.  I was a little worried about Mod Podging with six wee ones, but they did a fantastic job, which emphasized to me how simple this project really is.

Want to know the best part?  Each centerpiece costs under $2!  All of the supplies (except for the Mod Podge) were purchased at our local Dollar Tree.

SUPPLIES
-Small square candle holder
-Scented tea candle
-Green decorative glass
-St. Patrick's Day Napkins
-Mod Podge  (Not pictured)
-Foam brushes (Not pictured, but available at the Dollar Store)
-Scissors (Not pictured)

Unfold a napkin.  Use your scissors to cut out two of the green squares with clovers inside.
Mod Podge a clover square to two opposite sides of the candle holder.
Fill the candle holder with the green class about 2/3 full.  Place the tea candle into the center of the candle holder.  (You can kind of twist it down into the green glass a little bit.)

Enjoy!

I'm currently working on a Home/Life Organization Binder.  It's nearing completion, so I hope to have photos up soon.
Also coming soon... A Spring Wreath! 

January 14, 2011

Valentine's Day Tic Tac Toe

I have to say that I'm really quite pleased with how this turned out.  It was inspired by my daughter's love for Tic Tac Toe.  Actually, it was mostly her idea.  I just took care of the details.  This is a fantastic craft for kids, as my daughter (5 years old) was able to share in the work and do a lot by herself.
This was so easy to make.  I simply cut a heart template out of construction paper, then used it to cut 10 red hearts and 10 white hearts.  (Even though there are only 9 hearts on the board at a time, you want to be sure that each color has enough to win!)  I put two hearts together, used a hot glue gun to glue almost all the way around the inside edge, filled the hearts (through the unglued opening) with pinto beans (my daughter did all of the filling), then used the glue gun to seal the hearts.  Voila!

Next I cut a big heart out of pink fleece.  I chose fleece because it doesn't fray and I wanted to create a no-sew project.  Before you cut the heart, lay your bean bag hearts on top of the fabric to ensure that your game board heart will be big enough.  I cut four pieces of ribbon, pinned them to the heart in the shape of a Tic Tac Toe grid, then used the hot glue gun to glue them in place.  That's it!

The best part?  The game board ties up around the bean bags, creating its own storage space.  What more could you ask for?

September 30, 2010

Glow-in-the-Dark BOO

I must admit that I was skeptical about Martha Stewart's glow-in-the-dark glitter at first.  After using it, though, I am a proud supporter!  The bottle was so easy to use, with the easy-pour lid, and the glitter was just right for the coverage I needed.  I painted BOO onto a plastic pumpkin with Mod Podge, then poured the glitter on top.  
VOILA!

September 22, 2010

Fall Blessings Barn Star

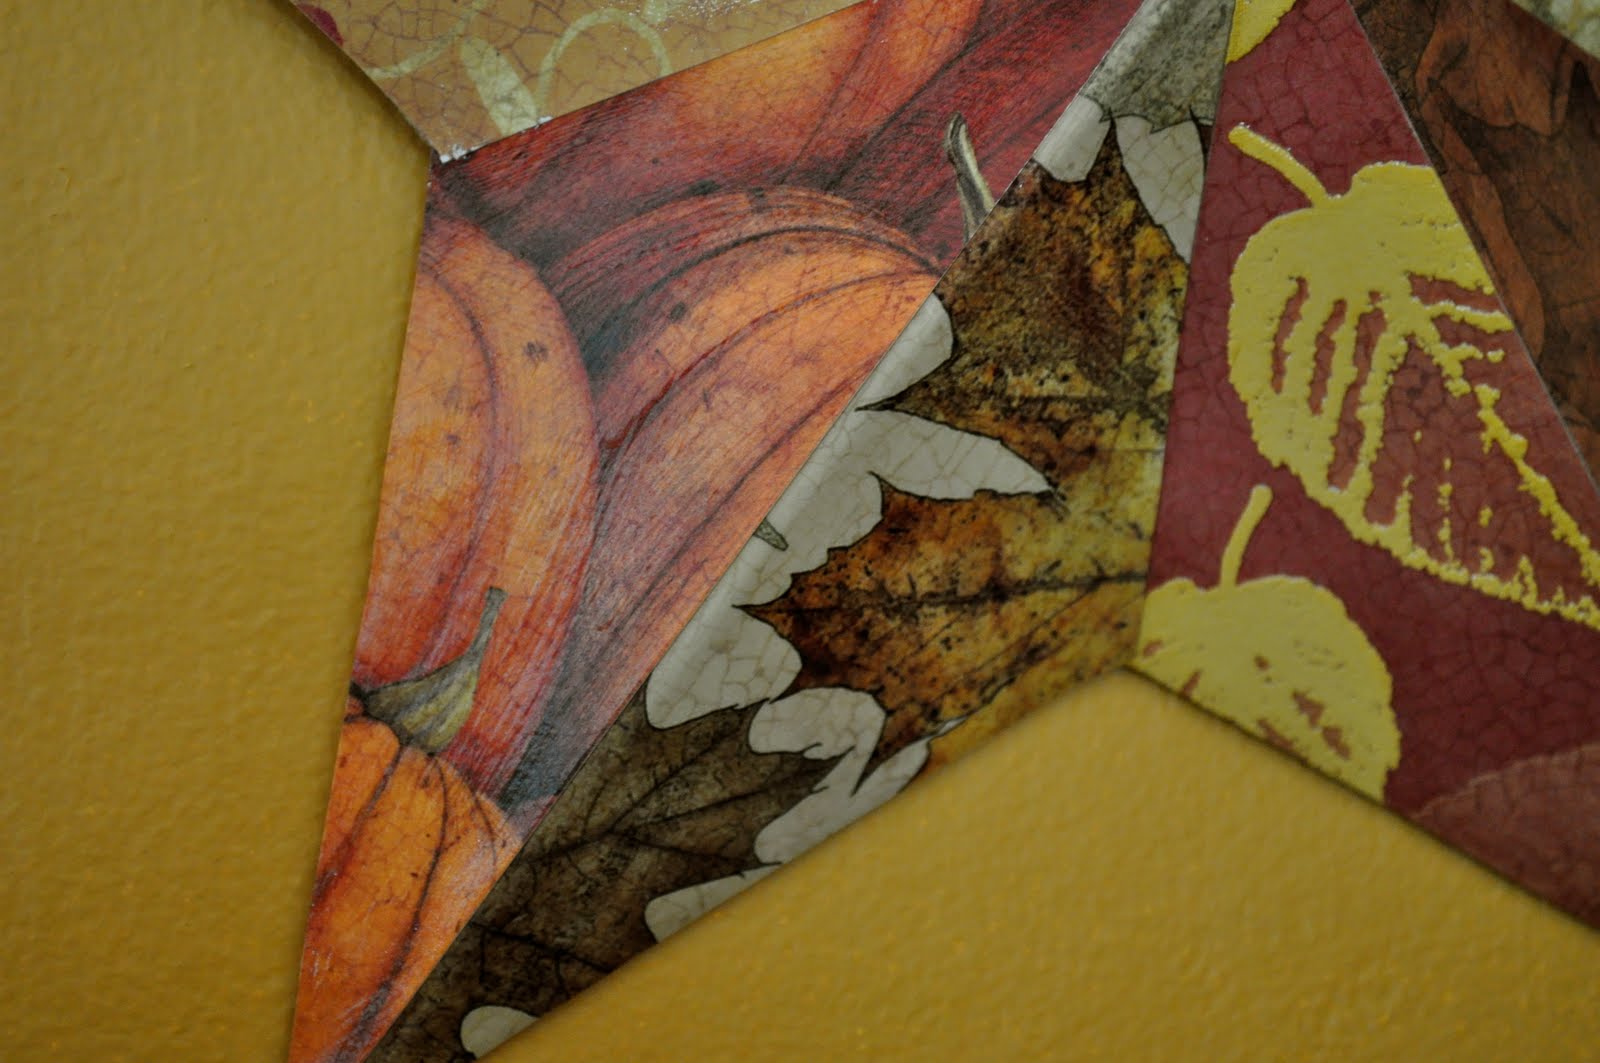
I've been eyeing barn stars for months now, but haven't wanted to spend the money to buy one.  Yesterday, though, while walking through Michaels, I found a paper mache barn star that was much cheaper than the plastic/metal ones I've seen previously.  I simply mod podged each star face with a different paper representing many of my favorite things about fall.  My 5 year old summed it up perfectly when she said, "I love it, Mommy.  I could just stare at it for hours."


I'm linking up to:
Join  us Saturdays at tatertotsandjello.com for the weekend wrap up          party!

September 3, 2010

Easiest Fall Monogram Wreath Tutorial

Fall is absolutely, without a doubt, my favorite season.  On September 1st, I pulled out all of my fall decorations and spent the morning transforming my home.  (That was also the day my son started school, and I had to keep busy to keep from crying the entire day!)  Today the weather has cooled enough to make it feel like fall--What perfect timing, as I made a new fall wreath for our front door last night!  

SUPPLIES
Styrofoam wreath form (mine was 10")
Fall Ribbon--Enough to wrap the entire wreath and cover the door hanger
1 Strand/Garland of fall leaves (On sale now at JoAnn's!)
Floral Pins (Sewing pins would work fine, too.)
Door/Wreath Hanger

Wrap the fall-themed ribbon around the entire wreath, covering it completely.  I used floral pins to secure the ribbon, as I like to be able to change my wreaths around, but you could use a glue gun, instead.
Create a loop at the top of your wreath with one end of your leaf garland.  Secure it with a pin.
Continuing from where you started the garland with the loop, wrap the garland in and out of the wreath, until you've used the entire length.  (Sorry if this isn't too clear; just wrap it around, the same way you did the ribbon.)  Secure the end with another pin.  
You can see the pin that I used to secure the end of the ribbon in the first step.  Don't worry about those pins because you can arrange the leaves to cover anything that shows.
Wrap your door hanger in ribbon, too, if you like.  I used double sided tape to secure the ribbon.
This is what I first hung on my door.  I really liked it, but felt like it needed something else.  So I scrounged around my craft room and found a letter "D" that I had mod podged a few months ago, but never did anything with.  Luckily it fit perfectly inside my wreath, and matched!
Here's the final product!  I love the monogram in the middle; I feel like it really makes the wreath.  How easy was that?!

HAPPY FALL!

I'm linking up to:


July 31, 2010

Allowance Chart

Remember our cookie sheet chore chart?  My husband and I decided that it needed something to go along with it, a chart to keep track of chores on a weekly basis.  The cookie sheet chart is perfect for assigning chores, serving as a visual reminder for what needs to be done, and keeping track of which chores have/have not been completed.  It lacks a long term record, though, for what has been done throughout the week.  We are going to be instituting an allowance for our children, something that they can earn for completing all of their daily chores for an entire week.  So I created a new chart that will record when all of the chores from the cookie sheet chart are finished each day, allowing us to know if all chores have been done every day of the week.

I snagged this sign from my son's school rummage sale last spring.  I just covered it with paper and Mod Podge, then used a set of hooks and clips that I had lying around from Ikea.  The two little bees and beehive are stamps from Stampin' Up.
When they reach "HIVE SWEET HIVE, " they get their allowance!

I'm linking up to:
Join  us Saturdays at tatertotsandjello.com for the weekend wrap up      party!

July 20, 2010

Ribbon and Brad Flower Headband Tutorial

I only had time to get the headband done tonight, but I'll try to get the bracelet finished soon.  Here you go!

Supplies
6" Ribbon
1 Large Brad
1 Headband
Needle and Thread (matched to the color of the ribbon)
Glue Gun

Cut a piece of ribbon to 6"
Fold over one end of ribbon and insert the needle through both layers.  (This creates a clean end.)
Use a running stitch to sew along one side of the ribbon from one end to the other.
When you reach the other end of the ribbon, fold it over just like you did on the first end.  Place your last stitch through both layers of ribbon.
Gather the ribbon by pulling on one end of thread, while holding the other.  
Once your ribbon is gathered into a circle, tie off your thread with a knot.
Place your brad through the center of your ribbon circle.
Open the brad across the back of the ribbon circle.
Adhere the ribbon and brad to a headband using a glue gun.  I glued the brad to the headband because I didn't want it to poke my daughter in the head or catch her hair.

DONE!

July 3, 2010

Guest Project: Karen's Explosion Album

I am so excited to be featuring my friend Karen's project today.  Karen is an extremely talented Stampin' Up demonstrator.  Karen hosts a monthly scrapbooking class, as well as a monthly technique class for card-making.  Today, though, Karen is going to be showing us how to make a Photo Explosion Album. This album is simple to make, but looks really nice and holds a good number of pictures.  I'm so excited, so let's get started!

Supplies
2 4 1/2" x 4 1/2" pieces of chipboard (or cardboard)
2 6" x 6" pieces of decorative scrapbook paper or card stock (for the front and back covers)
3 10" x 10" sheets of cardstock (this will make the actual album)
1 18" length of ribbon
Metal Buckle
Cardstock cut to the same size and shape as the buckle
2 Brads
Velcro Dots
Glue Gun
Double Sided Tape
Cardstock, stamps, and embellishments for the cover and interior

**Supplies in italics are for a buckle embellishment on the cover.  You can also close the album using only ribbon.

The Cover
Place double sided tape around the edges of a piece of chipboard.  
Center the chipboard, tape side UP, on the wrong side of your cover.
Fold in the corners first, and then use a bone folder to fold in the sides between the corners.
This is how it should look when you're done.
Repeat for the back cover.

The Inside Pages
Fold the 10" x 10" cardstock in half.  
Open, and fold in half again the other direction.  Open.  (It should look like the photo below.)

Fold along one diagonal.  Open.  
Turn your cardstock over, and push the center of the cardstock down.
You now have four squares on your cardstock.  Two squares have a diagonal fold and two do not.  Fold the diagonal squares down, one side at a time, until you have a square.
Repeat on each sheet of 10" x 10" cardstock (three total).

Assemble the Album
Place one sheet so that the diagonals point up, the next sheet with the diagonals pointing down, and the third sheet with diagonals pointing up.
Take the center sheet and overlap each non-diagonal square with a non-diagonal square on the other sheet.  Use double sided tape to adhere them together.
Lay your back cover face down.  Tape your ribbon to the back of the right (as in right and left) side of your cover so that it will wrap across the front like this:
Lay your back cover face down.  Tape the remaining non-diagonal square of the third page to the wrong side of the back cover.
Tape the non-diagonal square of the first page to the wrong side of the front cover, checking that your cover is facing the proper direction.
To create the buckle-look on the front cover: Place brads through the holes on the buckle.  Use a glue gun to seal the back of the brad, then trim the brad to fit.
Wrap the ribbon around the album, leaving some extra slack (album with be thicker once filled with photos), to determine where the buckle will be placed.
Place the buckle in its correct position on the ribbon.  With the ribbon in the middle, use a glue gun to glue the buckle to its matching cardstock.
This step should be done AFTER you have filled the album with photos.  (You have to know how big the album will be to determine where the velcro should be placed.)
Affix a velcro dot to the front of the album, in the location that the buckle will sit.  Affix another glue dot to the back of the buckle.  This is how you'll latch your album closed.
Fantastic--Your album is assembled!
This is the fun part.  Add pictures, embellishments, and journaling to both the front and back side of the album.
You can use the following technique to trim and fit your photos:
Cut a 5" x 5" square, then fold it along the diagonal.  Cut into two triangles.  Use the triangles as a guide for determining where to cut photos.

Here are some finished photos of Karen's album:

Karen, thank you so much for sharing this amazing project!  I truly appreciate all of the time that you put into making it so wonderful.
If you are interested in learning more about Stampin' Up or would like to purchase supplies to make this project, you can contact Karen here.
Related Posts with Thumbnails